How to add animated characters to Godot 4
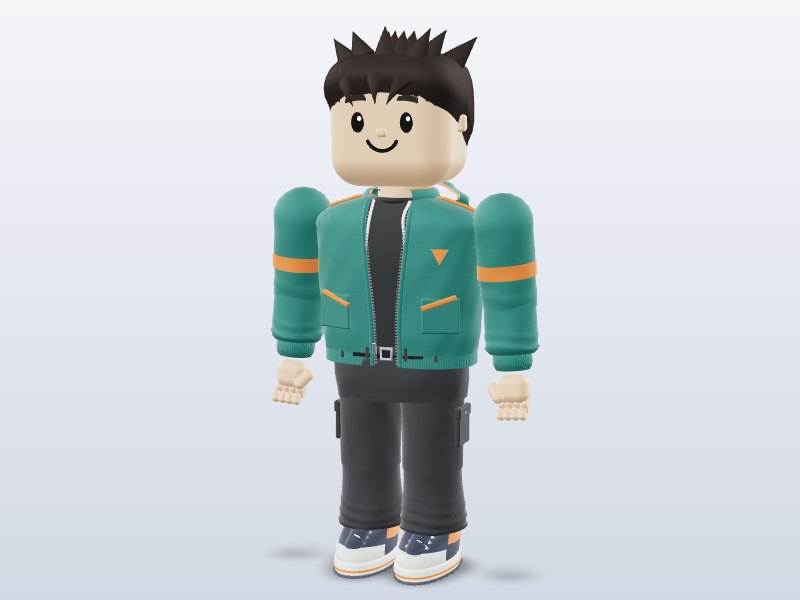
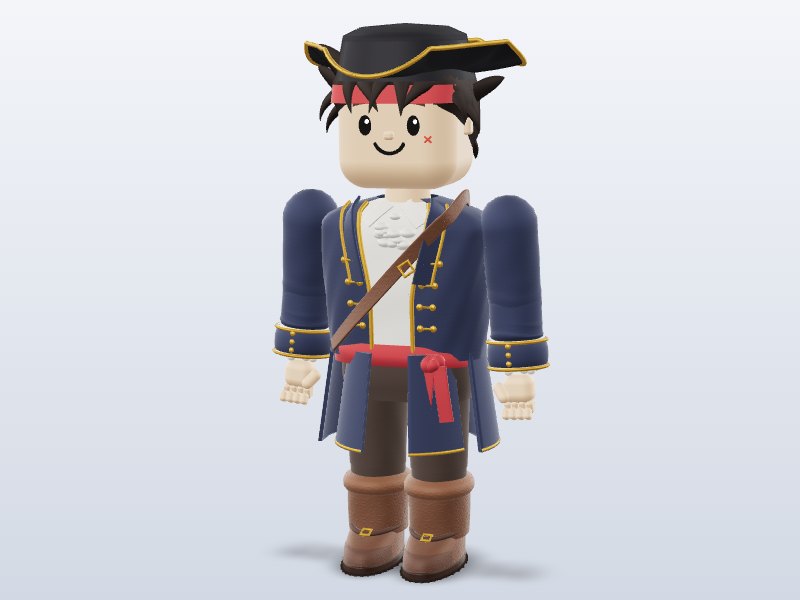
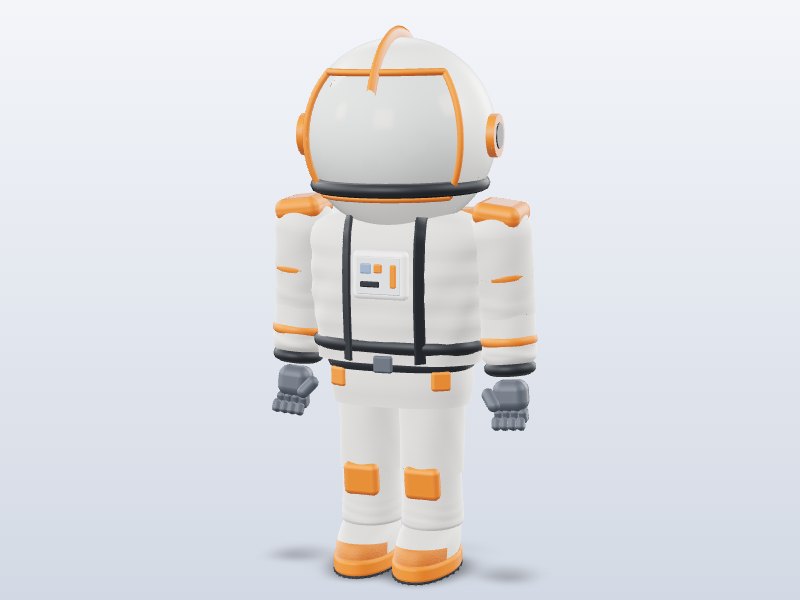
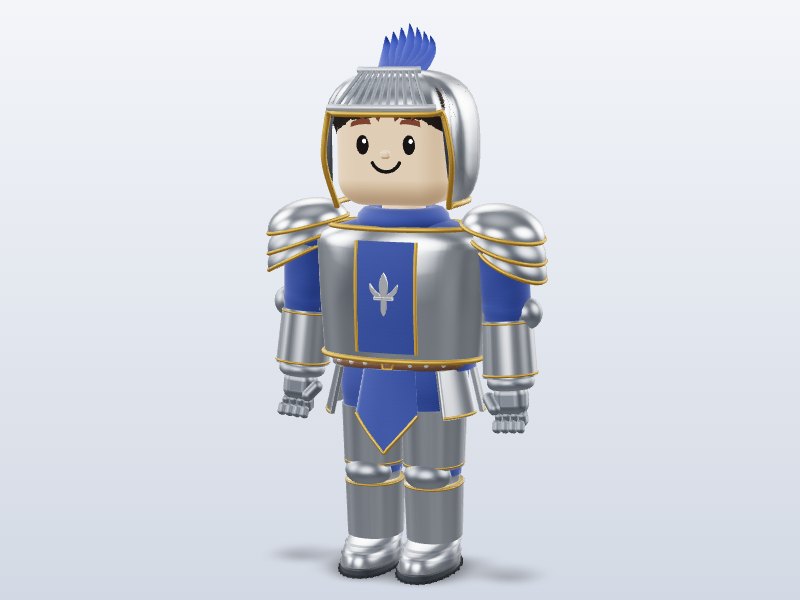
Godot 4 treats glTF as a first-class format, so a rigged .glb character imports with its skeleton and animations ready to play. In this guide you will import a character, make its walk cycle loop, and write a small CharacterBody3D script that walks around and switches between Idle and Walk. The free animated characters on this site each include nine moves, so they are perfect for this.
1. Import the character
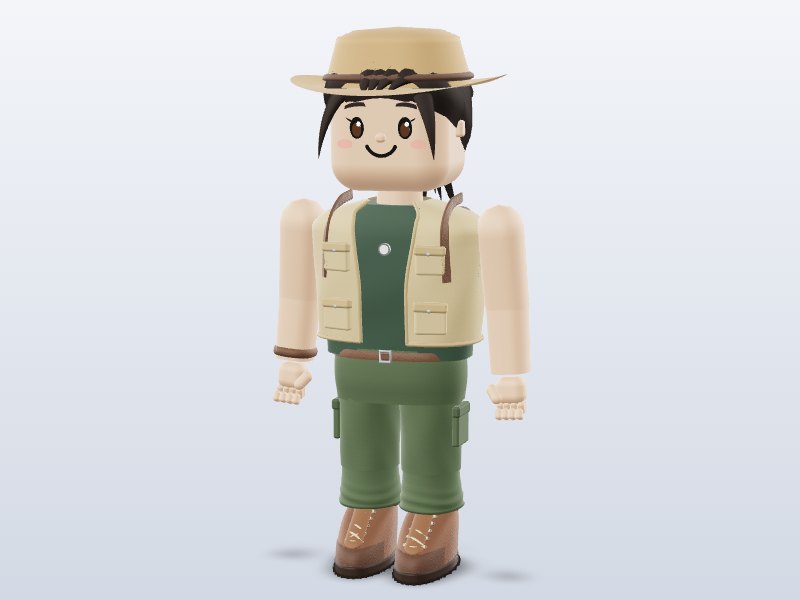
- Download an animated character, for example the Blocky Explorer Girl.
- Copy the .glb into your Godot project folder (for example
res://characters/). Godot detects it and imports it automatically. - In the FileSystem dock you will see the .glb as a scene. Double-clicking it opens the Advanced Import Settings window.
The imported scene contains the meshes under a Skeleton3D and an AnimationPlayer node with every animation: Idle, Walk, Run, Jump, Wave, Dance, Dance2, Celebrate and Kick.
2. Make looping animations loop
glTF does not store a “loop” flag, so you set it once in Godot:
- Open Advanced Import Settings (double-click the .glb).
- In the tree on the left, expand Animations and select Idle.
- On the right, set Loop Mode to Linear. Repeat for Walk, Run, Dance and Dance2.
- Click Reimport.
Leave Jump, Wave, Kick and Celebrate as non-looping one-shots.
3. Build the player scene
- Create a new scene with a CharacterBody3D root named
Player. - Add a CollisionShape3D child with a CapsuleShape3D (height about 1.8, radius 0.35) and raise it so its bottom sits at y = 0.
- Drag the imported .glb into the scene as a child of Player and rename the instance
Model. - Add a Camera3D behind and above the character.
4. The script
extends CharacterBody3D

const SPEED := 4.0
var gravity: float = ProjectSettings.get_setting("physics/3d/default_gravity")
@onready var model: Node3D = $Model
@onready var anim: AnimationPlayer = $Model/AnimationPlayer

func _physics_process(delta: float) -> void:
	var input := Input.get_vector("ui_left", "ui_right", "ui_up", "ui_down")
	var dir := Vector3(input.x, 0, input.y)
	velocity.x = dir.x * SPEED
	velocity.z = dir.z * SPEED
	if not is_on_floor():
		velocity.y -= gravity * delta
	move_and_slide()
	if dir.length() > 0.1:
		model.look_at(global_position - dir, Vector3.UP)
		if anim.current_animation != "Walk":
			anim.play("Walk", 0.2)
	elif anim.current_animation != "Idle":
		anim.play("Idle", 0.2)
Attach it to the Player node, add a floor (a StaticBody3D with a box collision) and press F6. The arrow keys move the character, which turns to face its direction and blends between Idle and Walk. The second argument to play() is a blend time in seconds that smooths the switch.
Why global_position - dir? Godot’s look_at points the node’s −Z axis at the target, while glTF characters face +Z. Looking at the point behind the character makes the model’s front face the movement direction.
5. Add more moves
- Run: when Shift is held, use a higher speed and
anim.play("Run", 0.2). - Jump: on
ui_acceptwhile on the floor, setvelocity.y = 5and play Jump. - Emotes: map keys to Wave, Dance or Celebrate; when the animation finishes (
animation_finishedsignal) go back to Idle.
For bigger state machines, use an AnimationTree with a StateMachine or BlendSpace1D (blend Idle → Walk → Run by speed) — it uses the same clips from the AnimationPlayer.
6. Reuse one character many times
Because the imported .glb is a normal scene, you can instance it as many times as you like — a crowd of NPCs or several players in a multiplayer game. Each instance has its own AnimationPlayer, so they animate independently. If you want to change something on the imported scene itself (add a script to the root, attach a weapon to the hand), right-click the instance and choose Make Local, or create an inherited scene from the .glb so your changes survive re-imports. To attach a weapon from our toy gun collection, add a BoneAttachment3D under the Skeleton3D, pick the hand bone, and make the weapon a child of it.
Tips and gotchas
- Godot does not read Draco-compressed glTF. Our characters are not compressed; if a model page says “Draco compressed”, re-export it from Blender without compression.
- To edit materials, use the Advanced Import Settings to extract them to .tres files, or set a material override on the MeshInstance3D.
- On mobile and Quest (OpenXR), use the Mobile renderer and low-poly assets.
- For a full level, add props, castle pieces and trees from the Godot collection.
Want a character with your own outfit? Build one in the Character Creator and export GLB with the nine moves — it drops into this exact setup.
Download 1 model free with your Google account. Want unlimited? Pay just US$1 — once, lifetime, not a subscription. Every new model we add is included forever.