How to open GLB files in Blender (and export them anywhere)
Blender has a built-in glTF 2.0 importer, so opening a .glb file takes seconds and needs no add-ons. Once it is in Blender you can render it, edit it, animate it or convert it to almost any other format. Here is the complete workflow, using the free models from our Blender collection.
1. Import the file
- Open Blender (2.8 or newer; Blender 4.x recommended). Delete the default cube if you like (select it, press X).
- Go to File → Import → glTF 2.0 (.glb/.gltf).
- Select the downloaded file and click Import glTF 2.0.
You can also drag a .glb file straight into the Blender window in recent versions.
2. Import options worth knowing
The file dialog has a sidebar with options. The defaults are fine for our models, but these help in special cases:
- Shading: keeps flat or smooth normals as authored.
- Guess Original Bind Pose: on by default; helps rigged characters import in their rest pose.
- Bone Dir: “Blender (best for re-importing)” makes bones point the way Blender expects; choose “Temperance” or “Fortune” if bones look odd for animation work.
- Merge Vertices: useful if a mesh shows seams when you edit it.
3. See the materials
The importer builds Principled BSDF materials with the base color, metallic-roughness and normal textures connected. Switch the viewport to Material Preview or Rendered (press Z and pick one) to see them. Textures are packed inside the .blend after import; to save them as separate image files use File → External Data → Unpack Resources.
4. Play the animations
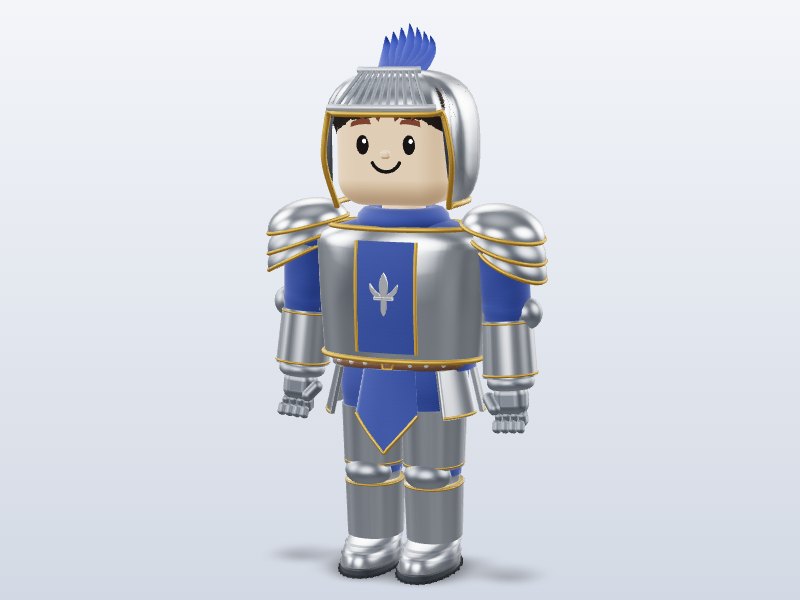
The rigged characters, like the Blocky Knight, contain nine Actions: Idle, Walk, Run, Jump, Wave, Dance, Dance2, Celebrate and Kick.
- Select the armature (the skeleton object).
- Open the Dope Sheet editor and switch its mode to Action Editor.
- Use the action dropdown to pick a move and press Space to play.
- To combine moves into a sequence, open the Nonlinear Animation (NLA) editor, push actions down as strips and arrange them on the timeline.
The importer may put the animations on NLA tracks so they don’t all play at once — if nothing moves, check the NLA editor and enable a track (star icon) or assign the action in the Action Editor.
5. Edit, recolor or kitbash
Everything is a normal Blender mesh now. Recolor by editing the base color texture in the Texture Paint workspace, combine buildings and props into a scene, or use a Decimate modifier to make a lighter version for mobile. Need ideas? Mix castle pieces, trees and village houses into a diorama and render it with Eevee or Cycles.
6. Export to other formats
- FBX (Unity Humanoid, older engines): File → Export → FBX. Enable “Apply Transform”, keep “Bake Animation” on for characters, and set Path Mode to Copy with embedded textures.
- OBJ (static, universal): File → Export → Wavefront (.obj). No rigs or animation.
- STL (3D printing): built into File → Export in Blender 4.2+; in older versions enable the STL add-on in Preferences. Check the model with the 3D-Print Toolbox first — see 3D printing models.
- glTF again (after editing): File → Export → glTF 2.0. Choose “glTF Binary (.glb)” for one file or “glTF Separate” for .gltf + .bin + textures.
- USD/USDZ (Apple AR): File → Export → Universal Scene Description.
Common problems
- The model is black: you are in Solid view with no lights; switch to Material Preview.
- Import menu has no glTF option: enable the “Import-Export: glTF 2.0 format” add-on in Edit → Preferences → Add-ons.
- Draco-compressed file fails: Blender’s importer supports Draco; update to the latest Blender if an old version errors.
To learn what each format keeps and loses, read GLB vs FBX vs OBJ.
Download 1 model free with your Google account. Want unlimited? Pay just US$1 — once, lifetime, not a subscription. Every new model we add is included forever.